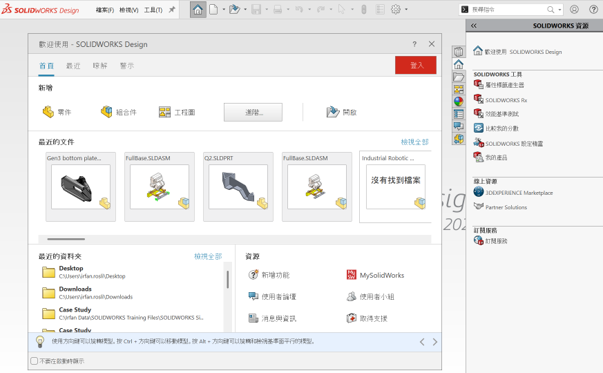
Follow all the steps below to change your SolidWorks language after it has been used for certain time.
1.Ensure SOLIDWORKS is completely closed.
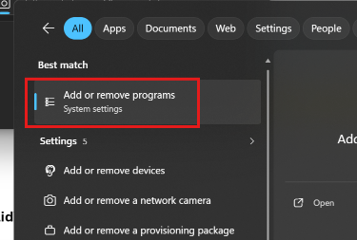
2.Open the Windows Start Menu, search for Add or Remove Programs (or Installed Apps in Windows 11), and open it.
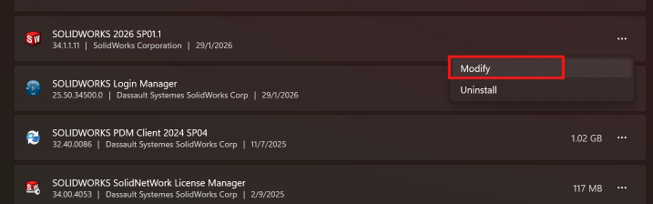
3.Locate SOLIDWORKS in the list of applications, click the three dots or right-click, and select Modify.
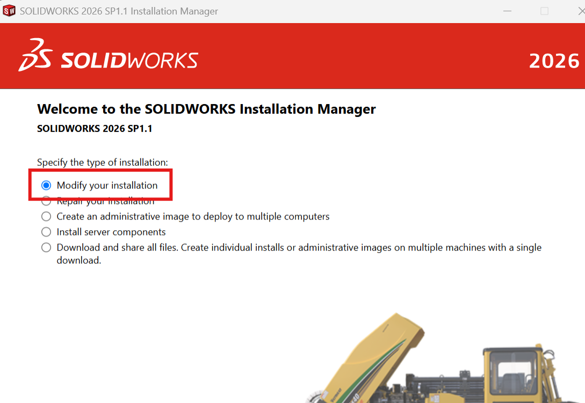
4.When the SOLIDWORKS Installation Manager opens, select Modify your installation and click Next.
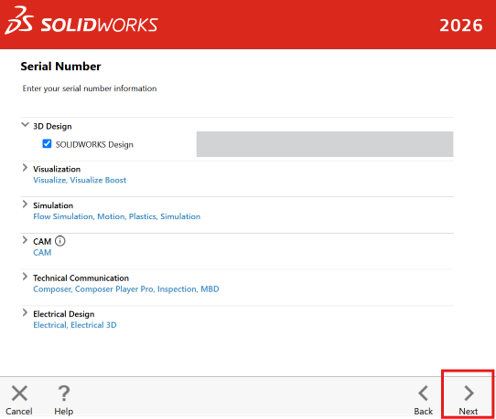
5.On the Serial Number page, click Next.
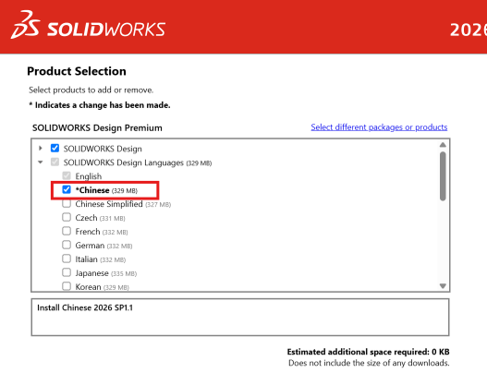
6.On the Product Selection screen, click the arrow to expand SOLIDWORKS Languages. Check the box for the desired Chinese language pack (In this sample we use Chinese) and click Next.
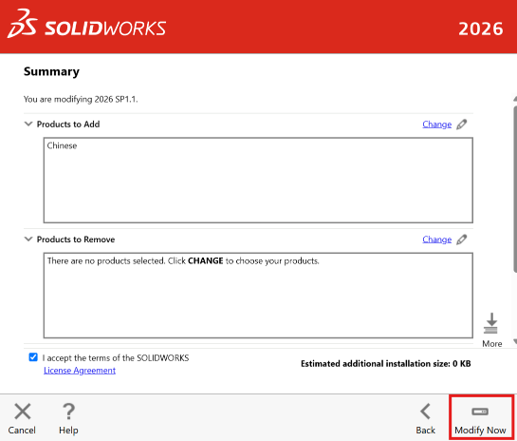
7.Proceed to download and install the package.
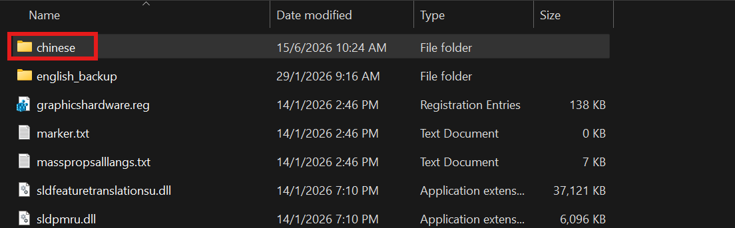
8.Once the installation is complete, open your File Explorer and navigate to your SOLIDWORKS installation folder (the default location is usually C:\Program Files\SOLIDWORKS Corp 20XX\SOLIDWORKS\lang).

9.Inside the lang folder, locate the folder named english.

10.Rename it to english_backup (Do not delete it).
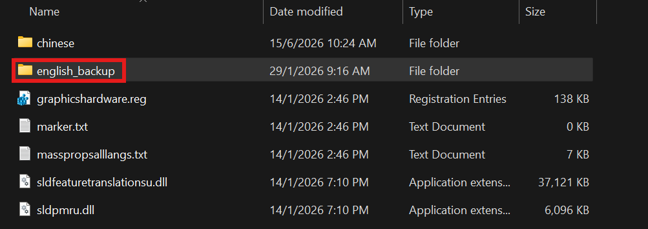
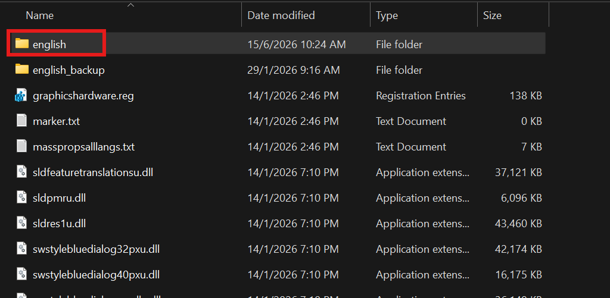
11.Find the Downloaded language folder(In this case, we use Chinese).
12.Rename this downloaded language folder to exactly english.
13.Relaunch SOLIDWORKS. It will now load in language you downloaded.